Tutorial 6:
Adding visualization of the modules

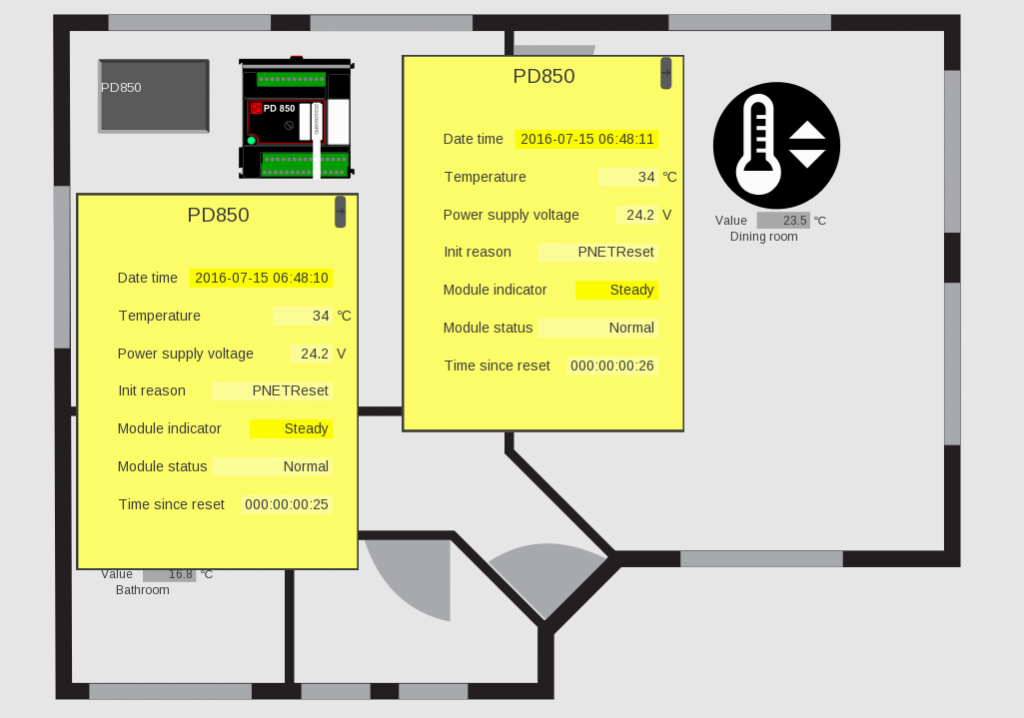
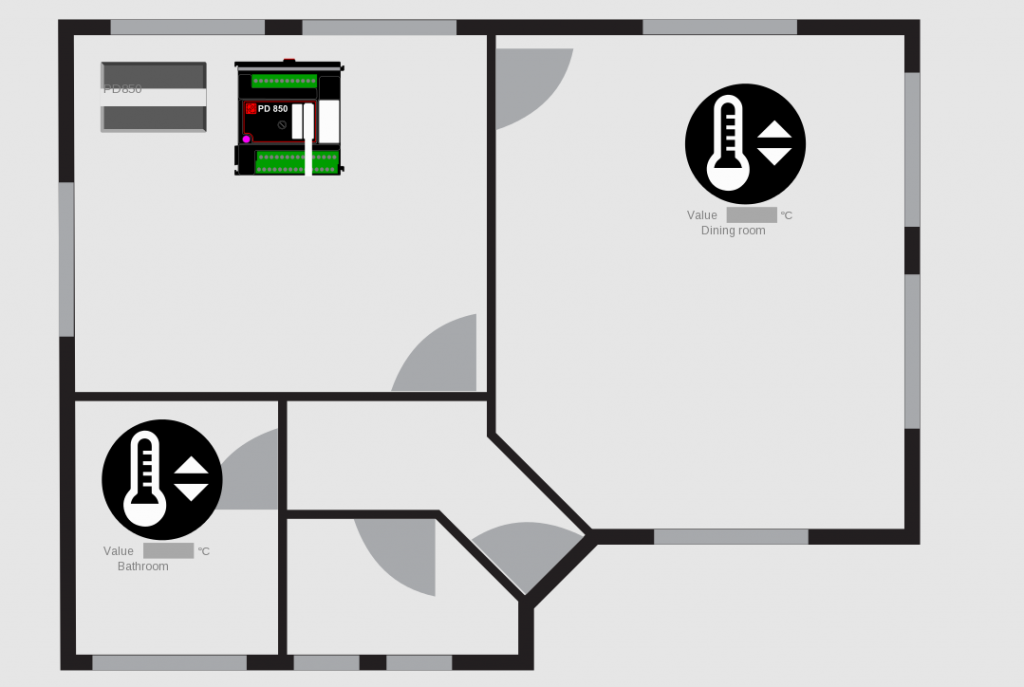
The diagram below shows what you will build in this tutorial. The red dots show tutorial steps.

Step 1: Add a standard button that opens a PD850 swipe view
1. Open your view "XX_Main_view_with_house_and_regulators".
2. Add open view
a. Right-click on view list
b. Select "add"- "view to open another view in new window".
c. Select PD_8640 – Open_view_with_pushbutton.
3. Select click sensibility
a. Find the data field Open_Info for the view.
b. Right-click "View to open"-> "select"->"view for control instance".
c. Find and double-click on the device PD850.
d. Select "PD_24499- Swipe_PD850_MF_IO".
4. Change default label text on "open view with pushbutton" to "PD850".
5. At this point, you can start the graphic editor and place the button where you want on the main view.

SEE HOW IT WORKS
Step 2: Create a custom icon that opens a PD 850 swipe view
1. Open "PD_2322 – PD850_MF_IO".
2. Right-click and select "Create a new view for this type based on" -> "PD 11813 Comp_view".
3. Rename to "XX_Button for PD_850".
4. Set view region – bottom right to y=50[mm] and x=50[mm].
5. Add visualization for PD850
a. Add "View for control instance" – double click on PD850 and select "PD_24500 – Show_PD850_MF_IO ".
b. Set scale factor to 0.4
6.Add Open_view
a. Right-click on view list and select "add"-> "view to open another view in new window".
b. Select PD_16706 – Open_view_in_new_window.
7. Select view to open
a. Right-click on the Open Info.
b. Press "view to open" -> "Select" ->Add "view for control instance".
c. Find and double-click on the device PD850. Select "PD_24499 – Swipe_PD850_MF_IO".
The last thing you need to do is to make sure the window opens, no matter where the user clicks on the button.
8. Select click-sensibility
a. For all elements in the view list, except the "open view in new window" mark the parameter "disable hit test".
b. Find the view method "get view region" and press override.
c. Add this code line: Open_view_in_new_window.Set_view_region(View_region:= View_region)
What your code should look like:

Now all mouse clicks or screen taps will go to the "open view in new window".
NB! You can’t use the graphic editor to view your button now. This is because the view region calculation uses methods that are only available at run-time.
SEE HOW IT WORKS
Step 3: Add your button to the main view
1. Open your view "XX_Main_view_with_house_and_regulators".
2. Right-click on view list and select "add"-"View for control instance". Find and double-click on device PD850.
3. Select "XX_Button for PD_850".
4. Start the graphic editor and place your two buttons where you want. Your view should look something like this:

SEE HOW IT WORKS
Step 4: Save, build and run your project
1. Open your project ""XX_Temperature_Regulator_notification_project".
2. Save and build the project.
3. Make sure your testbed is still connected and that the PC device is started.
4. Start the project downloader and configure all modules.
5. Open the different views and make sure to try the swipe functionality.
6. Press on both left and right mouse button to close a view.
SEE HOW IT WORKS


