3. HOW TO SWAP A MODULE WITH THE PD688
Introduction
When you have a display module in your project, you can use it to swap any of the other modules in your system. Further, you can do it without a computer to set-up the new modules.
If you need to replace the display module, please refer to the question “How can I download new Customware to a running system?” in the FAQ.
You have to prepare your project for swapping. To sum it up, you need a view of the assembly where you have located the devices. In there, you need the swipe views for the modules that you want to swap. The name is "Swipe_View_for_xxx" where the x’s are the specific module. Further, you need a button that opens the download configurator.
The following steps show how you can prepare a project for future swapping of modules.
Step 1: A running system

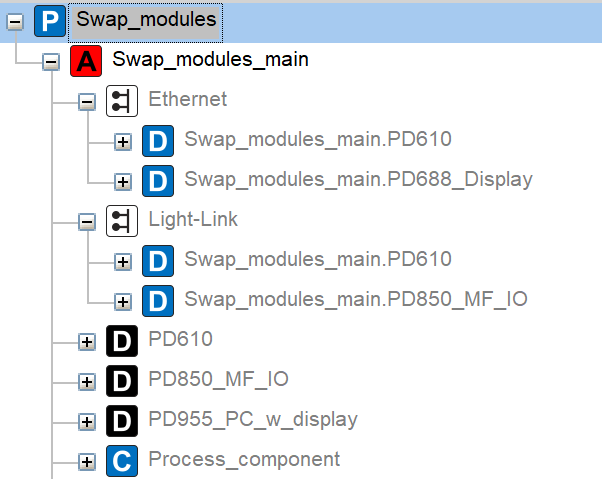
This guide uses a simple project with the modules PD955_PC_w_display as a display,
PD610 as a converter from Ethernet to Light Link, and a PD850. In
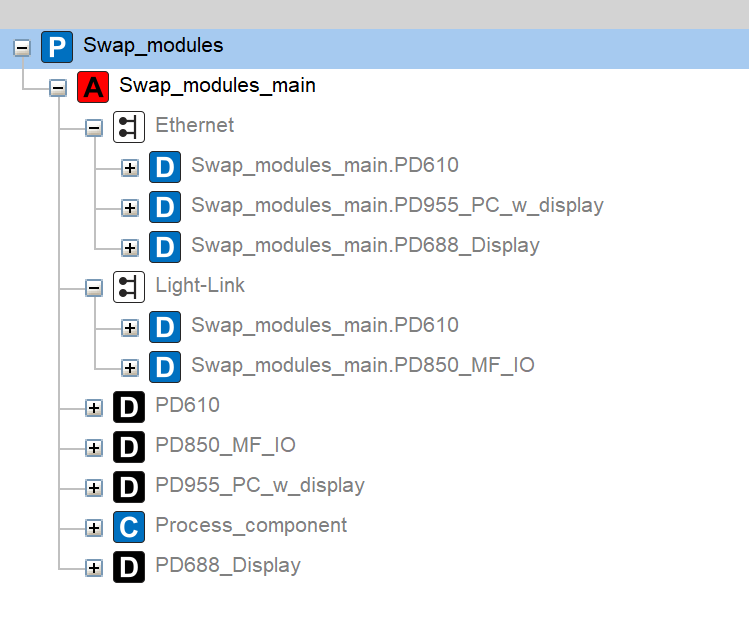
addition, we need all their base modules. You can see how the devices are connected in the picture to the left. There is one basic Process_component that we have located in the PD850.
We have downloaded all the firmware and customware through the PD955 and the system is running.
We will show you how to swap the PD850 while the system runs.
Step 2: Prepare the project
Step 3: Download firmware and customware to PD688
a. Connect PD688 with an SD card physically to your Ethernet net and power.
b. Find the unique device ID for PD688.
c. Run your downloader (PD955_PC_w_display).
d. Enter the unique device ID in the input field next to “Config this module only”.
e. Press the equal sign.
f. See that your view starts on PD688.
Step 4: Transfer your project’s output folder to the SD card
The project folder now has an output folder, you need to copy this folder into an SD card at the root location.
You can move it from your computer to the SD card.
If you can’t remove the SD card from PD688, then there is another way:
Copy the Output folder to the root of an USB pen
a. Find the project folder.
b. Press on the project in
c. Press ctrl + shift + g.
d. Copy the “output” folder to a USB pen.
Transfer the output folder to PD688
a. If you add the SD card after power-up, you need to reset PD688 to mount it.
b. Insert the USB pen into your PD688.
c. Open the configurator view.
d. Press “advanced”.
e. Check the “copy USB output folder”.
f. PD688 will now copy the output folder to the SD card on PD688.
g. Close the configurator view.
Step 5: Perform the swap
1. Swap the module
a. Remove the old PD850 device.
b. Make sure that you have factory reset your new module before you install it in your system. See FAQ "How does the diode and reset button work?" for more information
c. Install the new module.
2. Insert the new serial number
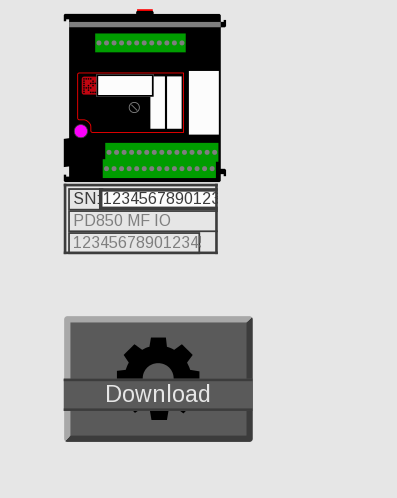
Each device has a swipe view that has a page with a serial number. On the same page is the field ‘Expected Serial no.’ that you enter the new serial number into when you swap a module.
a. Press on the view for the module that you swapped.
b. Swipe and find the view with serial numbers.
c. Click on the input field next to “Expected serial number”.
d. Press “<<” to remove the serial number from the old module.
e. Insert the new serial number – it will add PD itself.
f. Close the swipe view for the module.
3. Set-up the new module
a. Open the configurator on PD688.
b. Find the unique device ID for the module you have swapped in. It is in the project view, in the properties section, when you press the device.
c. Add the ID to the input field next to “Config this module only”.
The swap is complete.
4. Future swapping
If you have the module that you need to swap on the view, then you can:
a. Swap the module.
b. Change expected serial number.
c. Configure the new module.
If you don’t have the module on the view, then you need to add it to the view. Afterward, you can download the new customware to PD688 as described earlier.


